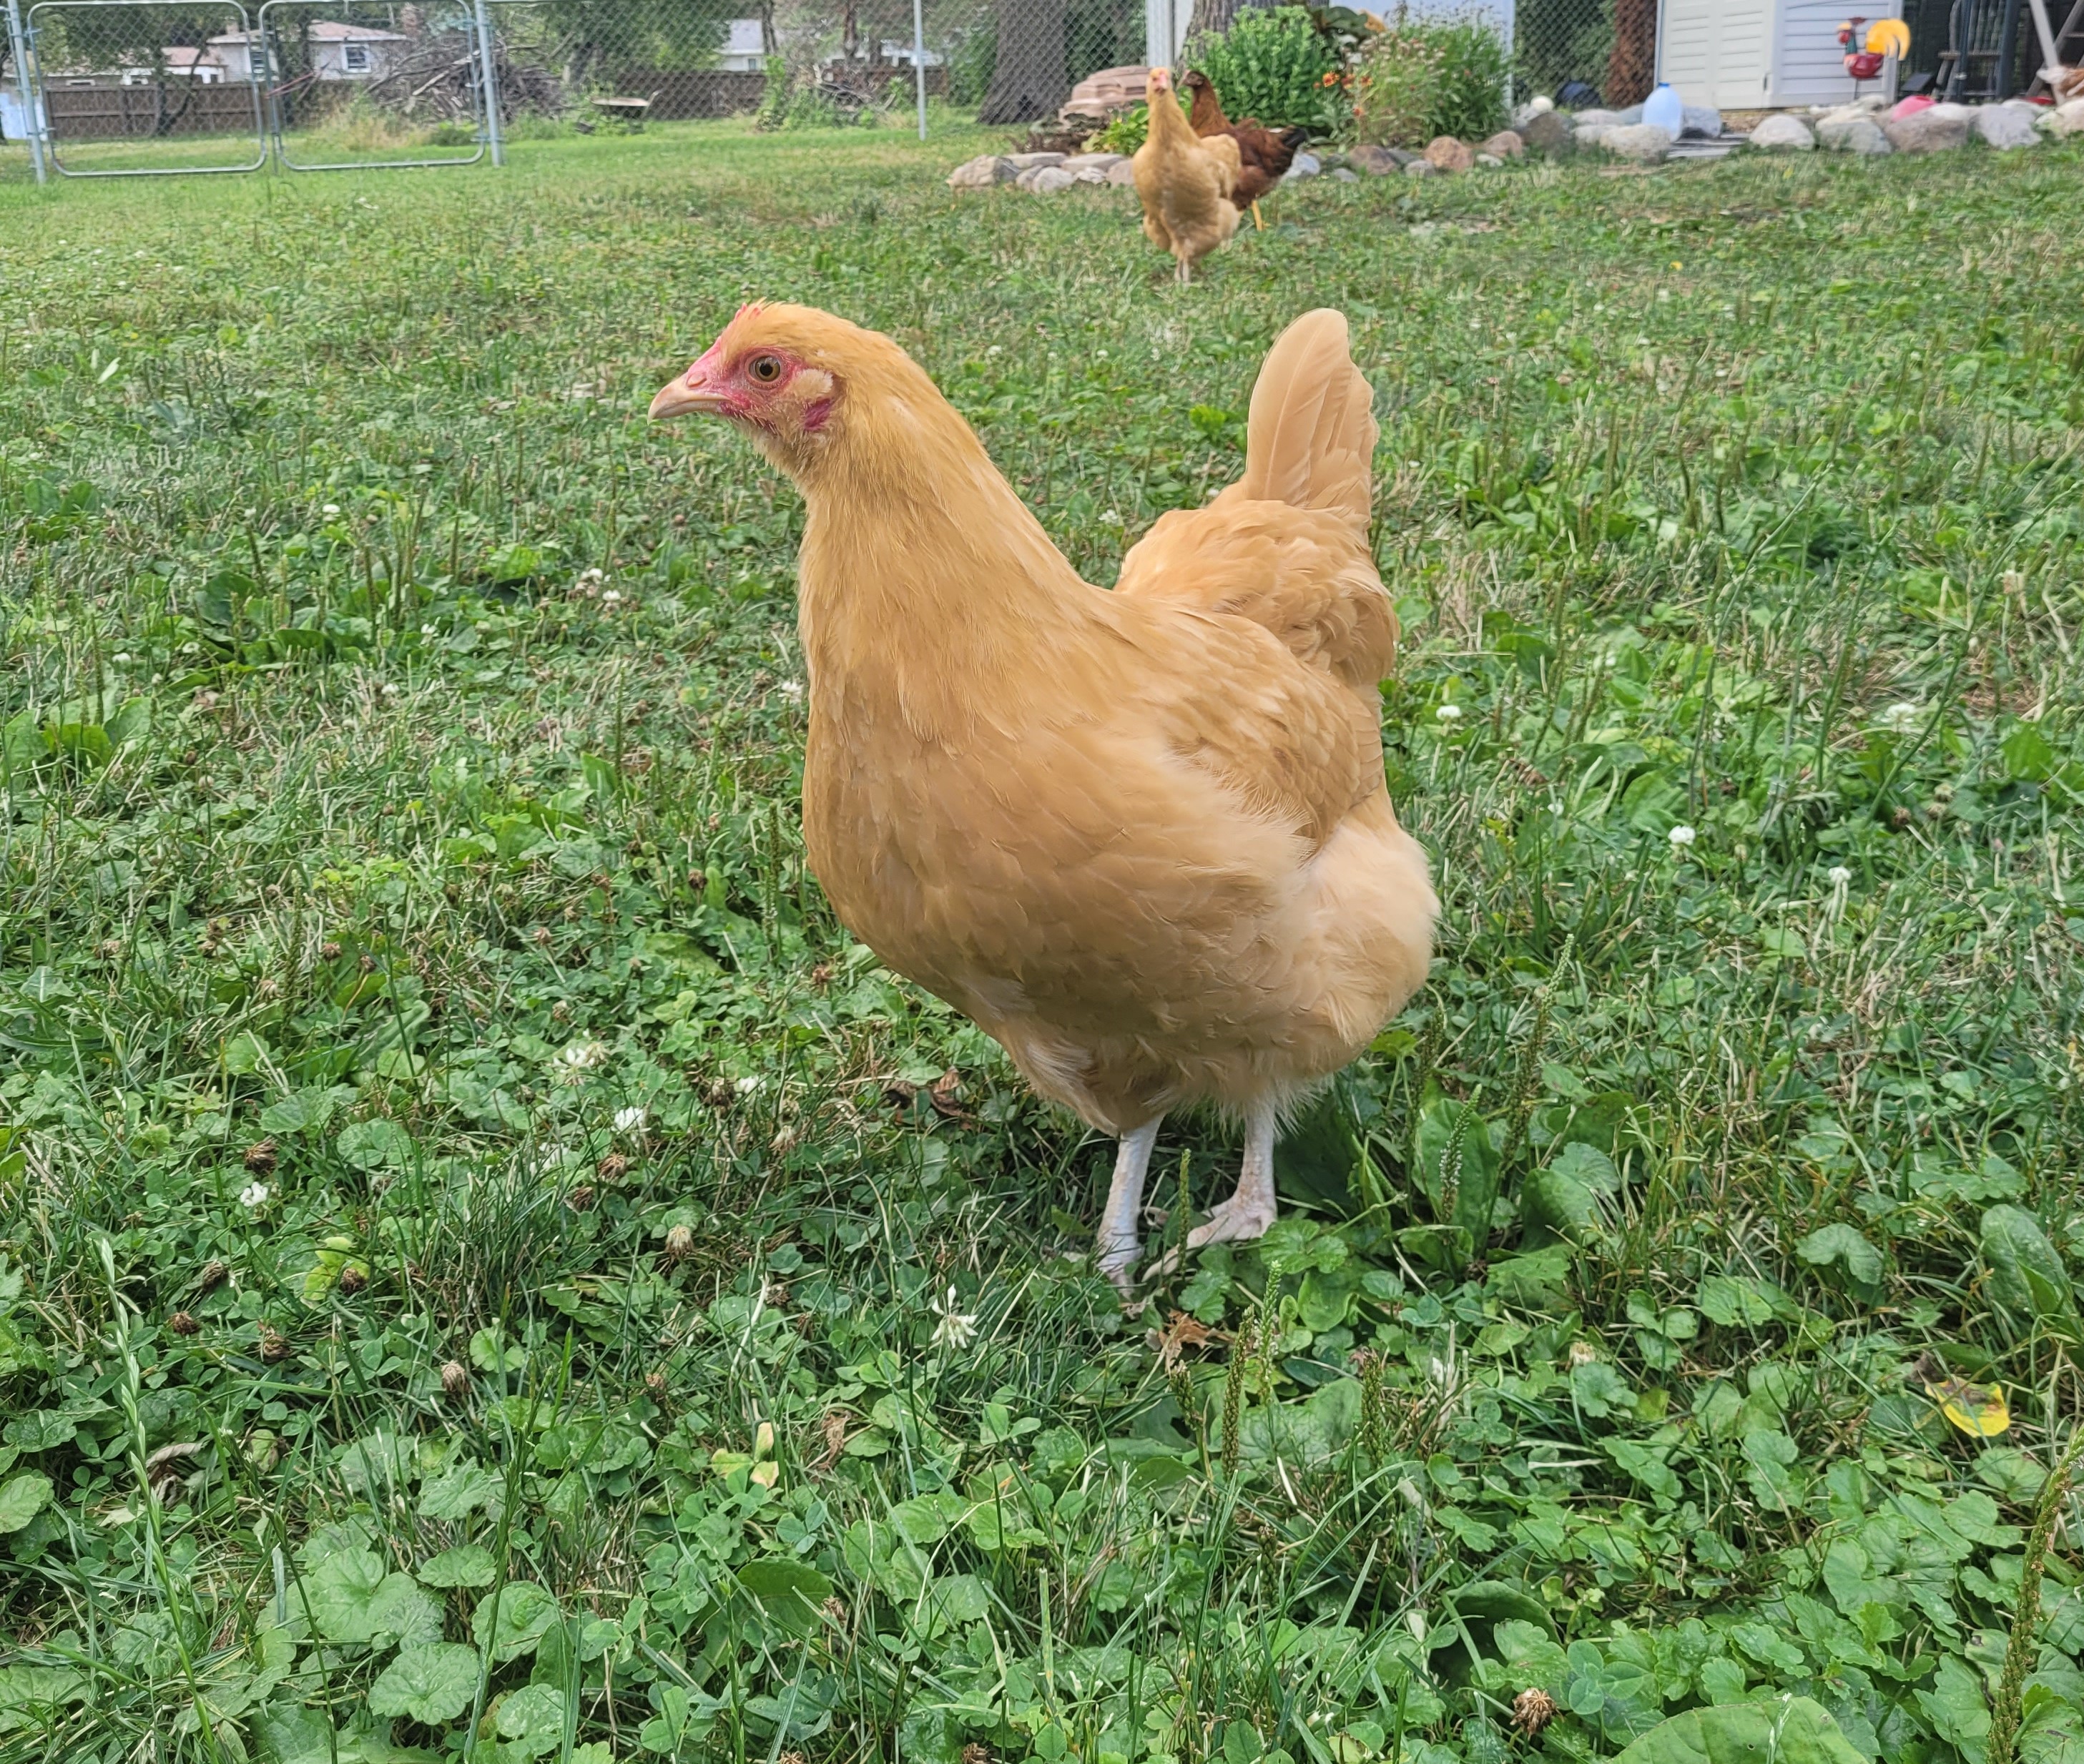
I have wanted chickens forever. I researched raising chickens for no less than 6 years before I finally took the plunge into chicken ownership. And I don’t regret it for one minute. My “girls” bring so much joy into my life. I had no idea that they would be so entertaining, social and full of personality. I even enjoy my “chicken chores”. They force me to spend time outside even in inclimate weather. I live in Michigan and could easily spend cold winter days cozied up in sweats on the couch with my dog and cats, watching movies and drinking hot tea. This is one of the reasons I decided against getting an automatic door for my chicken coop – I like that I have to go out at least twice per day to let them in and out of their coop. That is my opportunity to do a quick welfare check and make sure food and water containers are clean and full.
While researching on Pinterest I discovered a post about converting a horizontal storage shed into a chicken coop. To me, this was brilliant! I had been looking at the pre-fab chicken coops that are available at all the farm stores and online and they all seemed pretty flimsy, small and just in general poorly designed with inferior materials. After reading the reviews, I discovered that most people that had purchased them had buyers remorse and gave poor reviews for the same reasons that I mentioned above. Besides being of poor quality, they are NOT cheap. I have limited construction knowledge but, I have an independent streak a mile wide. Thats the Grit that I was blessed with. So I purchased a storage shed.
PROS OF USING A RESIN STORAGE SHED
Sturdy and weather proof
Easy to assemble
Easy to clean. Can be powerwashed if needed.
Does not absorb odors.
Easy to disinfect.
Affordable.
Somewhat insulated from extreme heat and cold.
Minimal work to convert to coop.
Can be repurposed if no longer using as chicken coop.
Smaller size stays warmer in the winter (less empty space)
CONVERTING TO A COOP
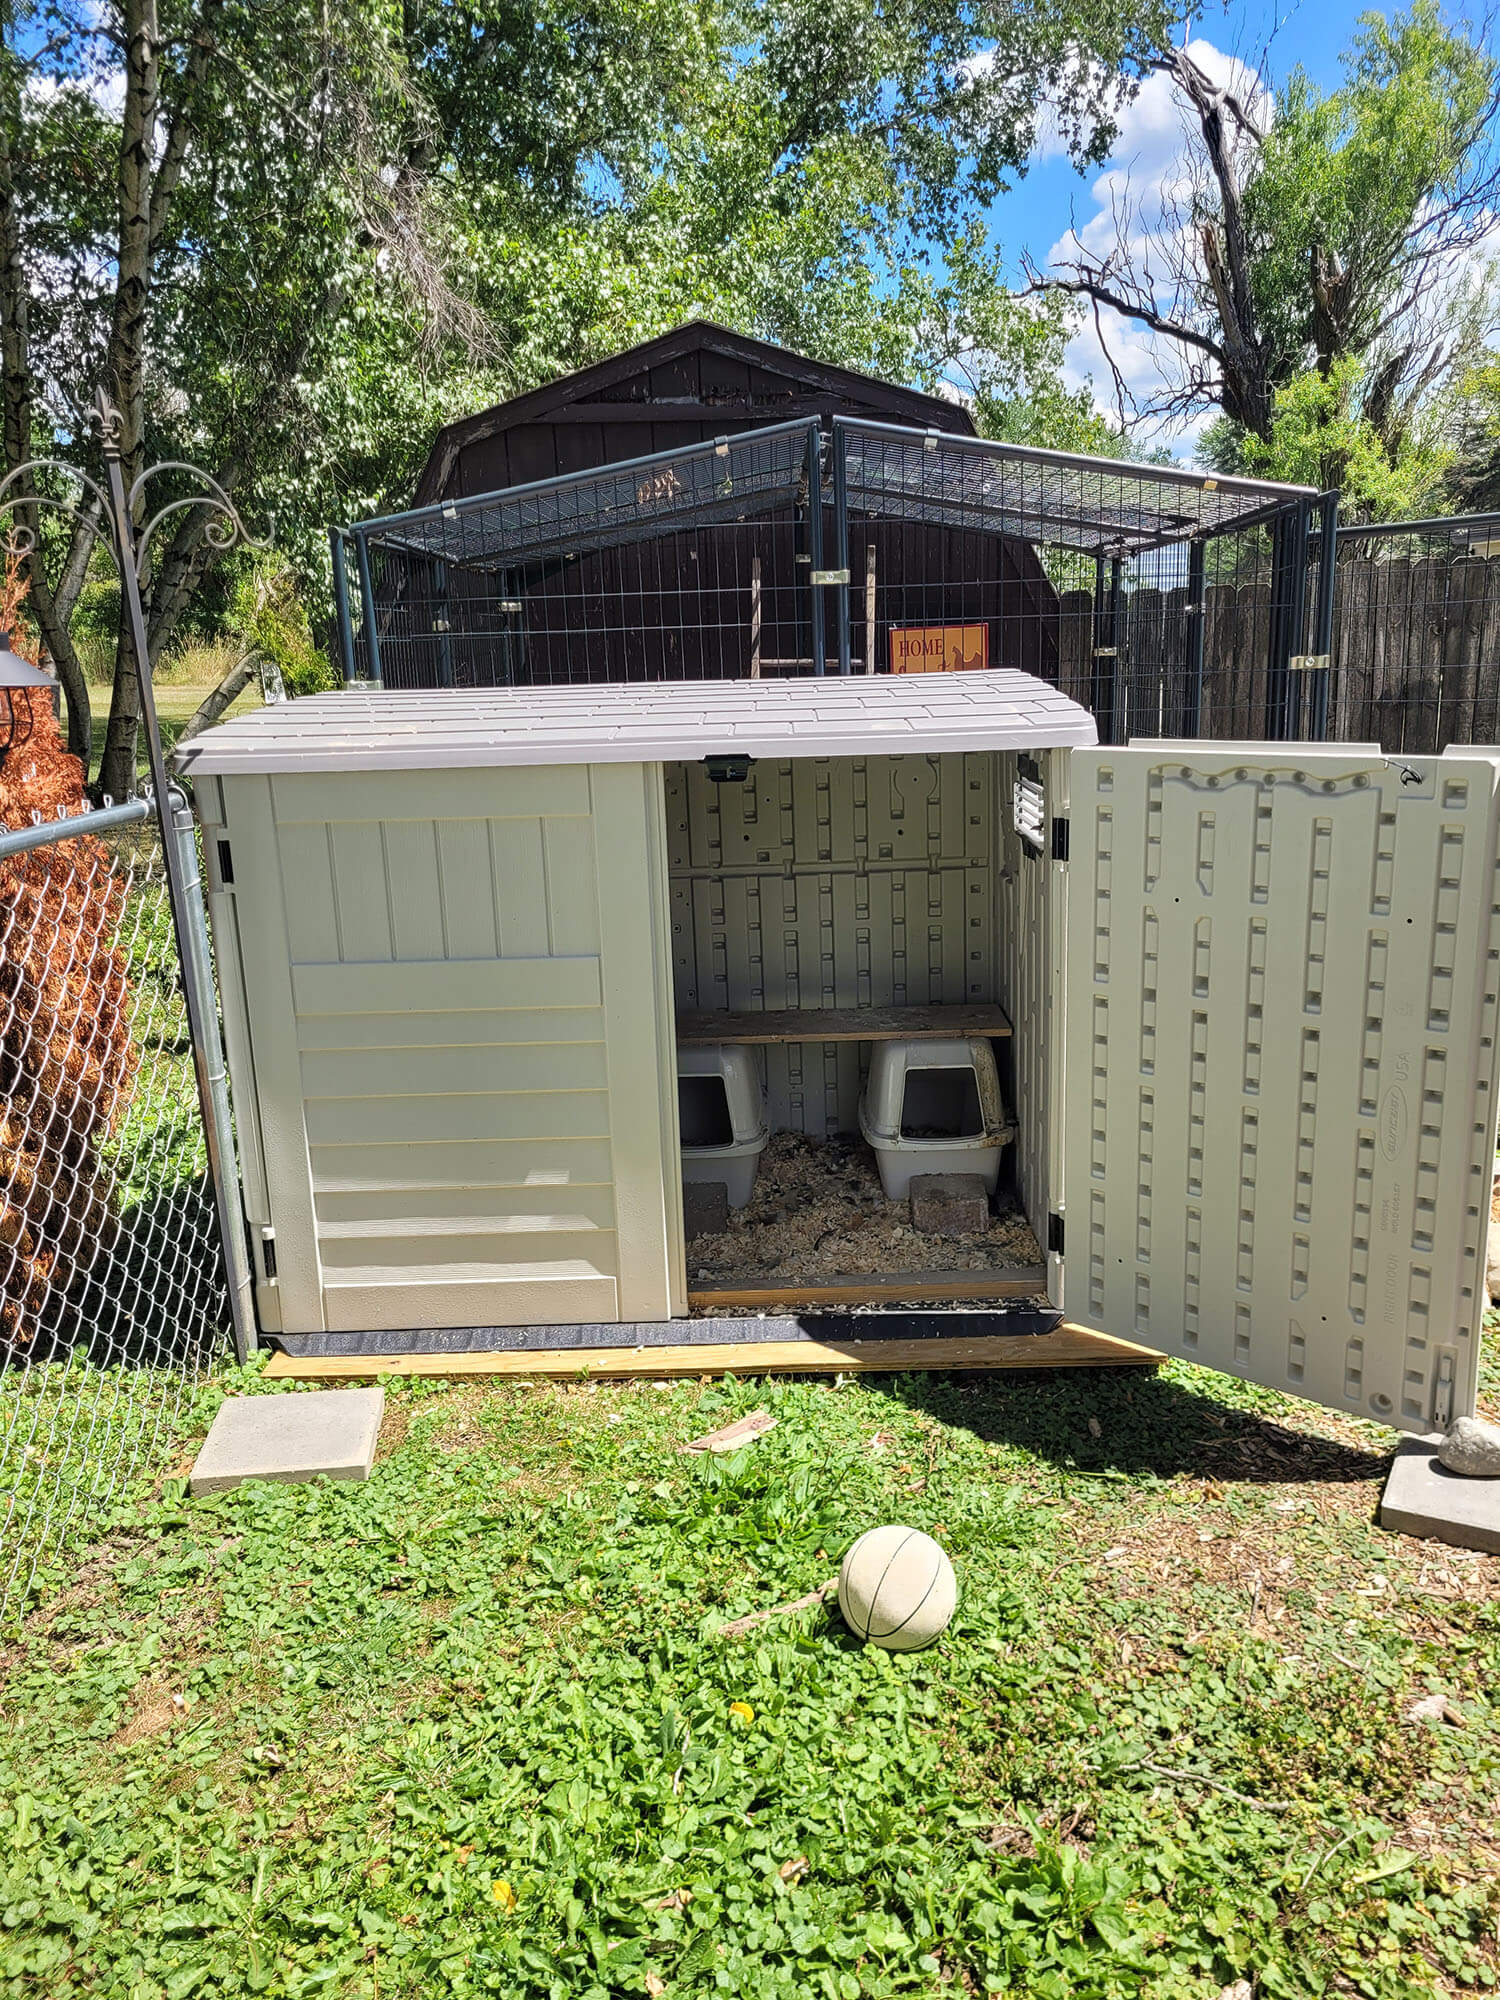
The shed I purchased is 6Wx4Dx4H. (actual measurements are 5’-10.5”x3’8.25”x4’4”). I assembled the shed using the directions included. I purchased a manual dog door to install between the coop and run (More about the run later). The door included a template for cutting. After tracing the template. I drilled holes in all 4 corners, large enough to fit the blade of my reciprocating saw. I then cut along the line I traced from the template. Cutting a straight line was a little bit of a challenge but not too difficult. tip the shed has vertical “panels”, use these to your advantage when placing your template to assist with getting a straight line with the saw.* Continue assembling the door per the manufacturer directions. For increased ventilation (which is needed) I purchased metal floor vents ($12 each) with adjustable airflow abilities and installed using the same method as I did the dog door. Tracing the vent i as a template. I placed the coop on a piece of weather proof plywood just slightly larger than the coop itself. I applied the plywood over 9 pavers (3 on each end and 3 in the middle for support) to level and elevate the coop. I did not want the coop to sink into the ground and interfere the the function of the doors. Slight elevation also helps when opening the doors after it snows.
Inside the coop I use 2 large plastic, covered litter boxes as nesting boxes. I have 5 chickens but they only use one nesting box. I have found two of them in one box at the same time even. The roost is a 2×4 sanded smooth and cut to fit the width of the shed and elevated by construction blocks (placed vertically). The cut out on the block fits the width of the 2×4 perfectly. You will want to make sure that the roost feels sturdy and use something to level/secure it as needed. I placed a boot tray under the roost and on top of the nesting boxes as a poop catcher. Its light enough to easily remove and clean (I keep a thin layer of chopped straw in the tray so everything slides out easily, and then apply fresh). BONUS My six new raised garden beds are steps away from the chicken coop and I have been putting all the soiled material in them to compost. I will fill the raised beds with soil in the spring and put the chicken waste in my actual compost pile in the spring.
A QUICK RUNDOWN ON MY RUN
I purchased an 8 foot by 8 foot welded wire run from TSC for my chickens for several reasons.
PROs
- Easy to assemble and disassemble to move by myself.
- Welded wire is strong and will keep my girls safe from large predators.
- Will not rust.
- The black wire blends in with my landscape.
CON - The spaces between the door frame and corners are large enough for small predators to enter.
The predators in my area are hawks, opossum, raccoons and neighborhood dogs. This run would not be suitable if you have snakes, mink, weasels or martins in your area. I have added hardware cloth around the bottom of the run but I am unable to cover the entire run with it without it impeding the function of the door.
I hope this post was helpful and if you have any questions, please contact me. As always, have a blessed day.


